How to
Here you'll find a selection of helpful how-to guides and videos to help you achieve that perfect finish for your next project. To continue, please specify the area of the house you are working on from the interactive map below.
How to prepare a room for painting
The key to achieving a flawless paint finish is preparation. A fresh coat of paint can often accentuate imperfections on plaster walls so it's important that small cracks, dents and chips are properly filled and sanded to create a smooth, even surface for a picture perfect finish.
Before starting on your walls, it's a good idea to clear the room of all furniture and accessories. If you can't store furniture elsewhere in the house, use good quality drop sheets to avoid getting paint and dust on them as well as your floor surfaces.
You'll need:
- Poly Sugar Soap
- Polyfilla Interior Small Cracks
- Polyfilla Multipurpose Gap Filler
- A caulking gun
- A flexible filling blade
- Fine sandpaper
- A soft brush
- Painters tape
Filling small cracks in walls
- Ensure your walls have no remaining nails, pins, etc. With fine sandpaper, remove lumps, bumps and any paint flakes. Brush off excess dust and then wash down the walls with Poly Sugar Soap to remove grease and grime. Let the sugar soap dry completely before filling.
- Apply a small amount of Polyfilla Interior Small Cracks to your filling blade and draw it across each imperfection on the wall. For larger areas, a trowel should be used.
- Remove excess and skim the filled areas lightly in both directions a few times to ensure a no air bubbles are present in the filled space. Feathering the edges will also minimise sanding. Finish by drawing down with firm pressure.
- Wait until the application has dried (2 hours for thin 2mm applications depending on humidity), then lightly sand the filled areas to an even finish.
- Remove dust with a soft brush. Allow longer drying times for deeper applications or if painting with oil based paints (24 hours minimum). There is no need to use water or sugar soap to clean dry filled surfaces prior to painting.
- If filling depths are greater than 2mm, a second application of Polyfilla Interior Small Cracks may be required.
Filling gaps between skirting and architraves
Gaps between the skirting, architraves and wall joints also need to be filled prior to painting, using Polyfilla Multipurpose Gap Filler.
- Ensure that the surface to be filled is clean and free from dust. To ensure a neat finish, tape both sides of the gap before applying the gap filler.
- Cut the tip off the cartridge and then cut the nozzle at a 45 degree angle to give the desired bead thickness. Place the cartridge in the caulking gun and fit the nozzle.
- Hold the gun at a 45 degree angle and dispense the filler ensuring that it is pushed right into the joint.
- Use a caulking gun to apply an even line of Poly Multipurpose Gap Filler along the joint or gap. Ensure the filler is touching both sides of the gap.
- Run a wet finger or knife along the filled line, pushing it into the gap. Use a damp cloth to remove any excess.
- Allow the line to dry at least 30 minutes before taping and/or painting. If painting with oil based paint or if the joint is large, allow at least 48 hours.
Taping
Invest in a good painter's tape and carefully tape off any skirting, architraves, woodwork, etc. As you apply it, gently rub across the edge of the tape that will be painted to help prevent any paint from seeping underneath.
Now you've created a smooth, blemish free surface, youíre ready to paint and achieve a perfect finish! For best results, apply paint undercoat before applying your top coat.
Related ProductsView all products
-
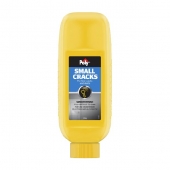
Fillers
Filler - Small Cracks
View Product -
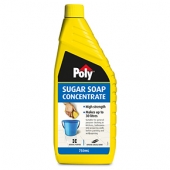
Cleaners and Strippers
Sugar Soap Concentrate
View Product -
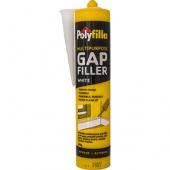
Fillers
Filler - Multipurpose
View Product -
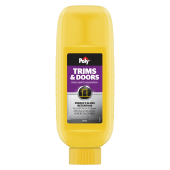
Fillers
Filler - Trim and Doors
View Product -
Fillers
Filler - Quick Dry
View Product